 A hands-on project may be simple or fancy, but it must connect with the lesson being taught.
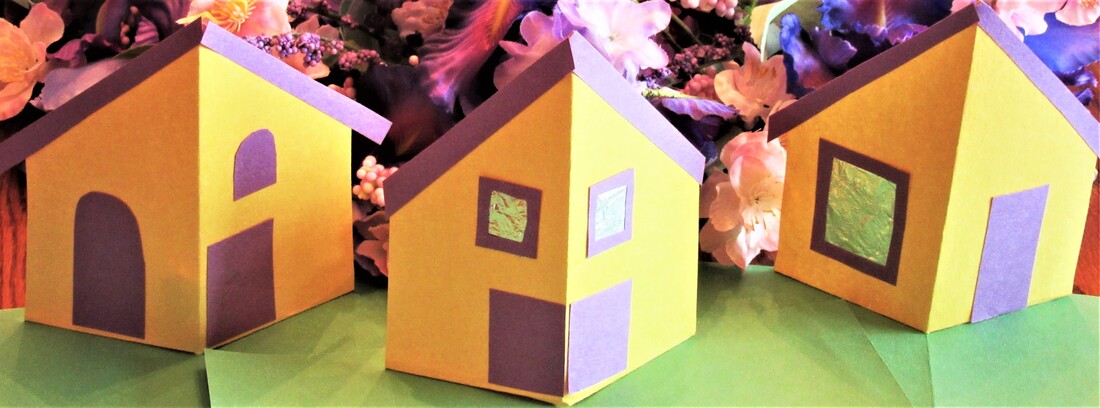
 For several weeks now, I have been showing pictures of pop-up houses, some simple, some more complex. Now, I want to show how to take that simple pop-up house and use it to teach.
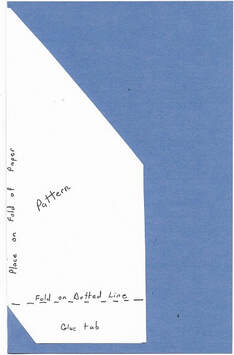
Let's get started! Begin with a simple pattern that even 5-year-olds can trace and cut out.
 For a full-size copy of this pattern with detailed instructions, click the link above right for Teachers Pay Teachers.
 Remember to Read the Directions carefully—all of the directions.
- First, select construction paper that you want to use for your pop-up house. Fold the paper in half as if you are making a book. Trace the pattern. The pattern must be on the fold of the paper. Trace and cut out your house. Be sure to cut notch at corner/fold. Lay pattern on your house and fold bottom flap as shown on pattern.
Read this to the child. "Decorate your house using markers, crayons, or scraps of paper. Do not decorate below fold line (see pattern) because that is where you will glue your house to the paper. Slow down; take the time to make your house look very special. Sometimes it can be frustrating to work on a project very slowly, trying to do your best work, but in the end, it is best when we put extra effort into every job we do. Be creative and do your very best. Use only a glue stick for glue."
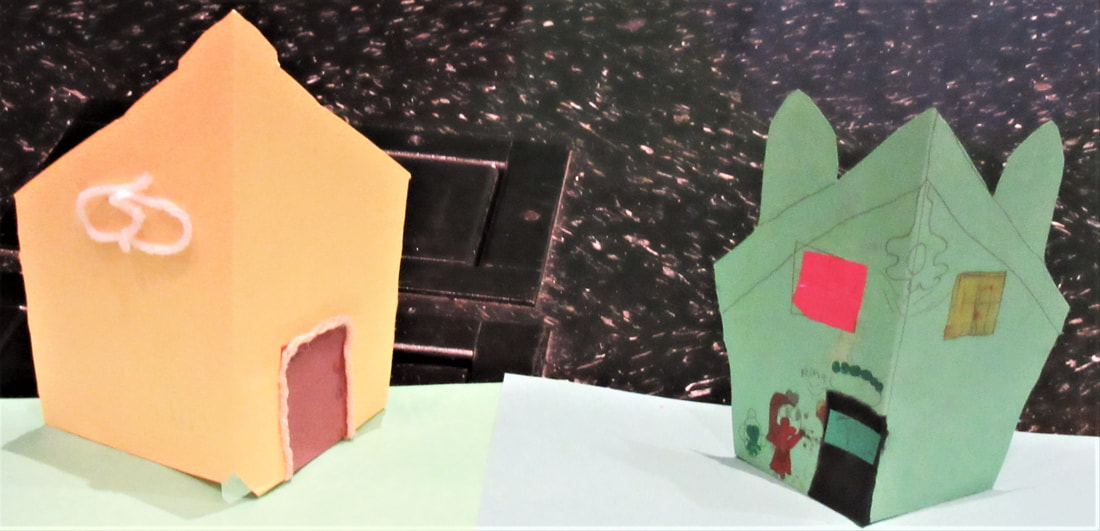
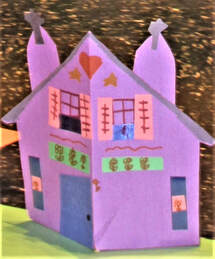
Decorating a house can be very simple or very elaborate. Here are two examples made from this pattern:
Third, place glue only on the folded flap of your house. Use a glue stick--no liquid glue.
Fourth, line up the center fold of your house with the center fold of your open sheet of green
construction paper. Open house into a V shape and glue down the flaps onto the green construction paper. Open and close green construction paper once to make sure that the house pops up. Then, set aside to dry.
Teaching tips:
- Place glue only on the folded flap of your house. Use a glue stick--no liquid glue.
- Line up the center fold of your house with the center fold of your open sheet of green paper.
- If you are teaching older students, have them use their ruler and protractor to make their own pattern. Now, you have combined reading and math into one lesson.
- Even many special needs students can do this project. Make your pattern out of carboard. Hold the pattern in place and encourage the student to trace around the pattern.
- If you are teaching on-line, this is a perfect project. I used it with a 3rd grade student, but you can also use it with first graders. You just give the instructions orally with young children. I’ve also used this exact pattern with 5- and 6-year-olds in a class. For example, say: “Has everyone folded your paper? Hold the paper up and show me the folded edge of the paper, where is the fold? Excellent. Lay your paper on your desk and place your pattern on that fold.”
This simple hands-on project becomes a teaching tool and is also a motivational tool to encourage students to want to learn. The house is not simply an arts and craft project. It is a teaching technique placed within a supportive group-centered prevention program that focuses on both teaching and counseling. I want to undo the harms of reading failure. I want to encourage children to try again and believe that they can learn to read.
________________
Reading Failure is a Mental Health Problem
________________
What Have We Taught With This Hands-On Project?
One of the best ways to help children practice comprehension is by following step-by-step directions to make a project. The children must read, understand what they read, and then apply such comprehension in order to complete the project.
________________
For more about comprehension, read: Reading Comprehension
________________
If you are teaching on-line, for older students, you could have your students research colonial homes, then write a paragraph or essay comparing and contrasting colonial homes with the house they live in today.
________________
One web site that I like is: Colonial Homes for Kids
________________
So, be creative with either in-class or on-line instruction, you can bring your lesson to life with a simple hands-on project. The house is not just an arts and craft project, it becomes a teaching tool that motivates your students to want to do more. Yes, we really can change how we teach and help every student overcome their learning losses, whatever they may be.
And look at what you've taught with this simple hands-on project:
- Comprehension—Regardless of whether you had the students read and follow the written directions or if you read the directions to the student, you were teaching comprehension, following directions, listening skills, and completion.
- If you had your students write a story, you were also teaching composition and story writing. If you had your older students research a topic, you were also teaching research and writing nonfiction paragraphs. You can turn the pop-up house into a book and have each student write their own story or essay. There are hundreds of ways to use this hands-on project.
- Even if you are teaching first graders, you can use this simple house to teach letter sounds. I use a game called Build-by-Sound. The child keeps the vowel sound the same. For example, use the short a sound. Then, build words: at, bat, cat, rat…ran, fan, man, …cap, lap, sap. Keep the vowel sound the same but change the consonants.
- For older children, you can add consonant blends: trap, black, stack…. Depending on the age of your students, you can even have two or three syllable words with one common vowel sound. Never mix vowel sounds. The idea is to train the brain to hear the common vowel sound in each word: apple, happy, cattle, acrobat, astronaut.
Then, of course, have your student write the words correctly on manuscript writing paper and glue them to their house to practice later. Again, use only glue sticks on pop-up houses.


 RSS Feed
